
I pre-ordered a Badgeware Tufty, a “smart interactive badge with colour 2.8” TFT display, powered by Raspberry Pi RP2350." It arrived today! This post covers what I’ve learned so far about programming it.
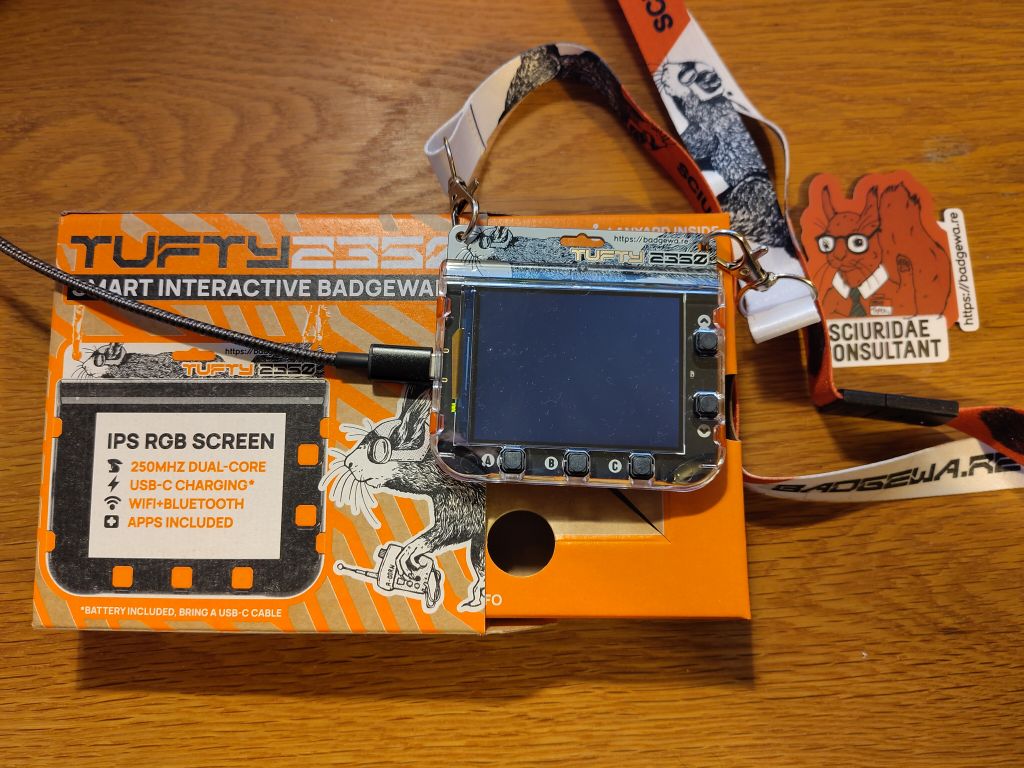
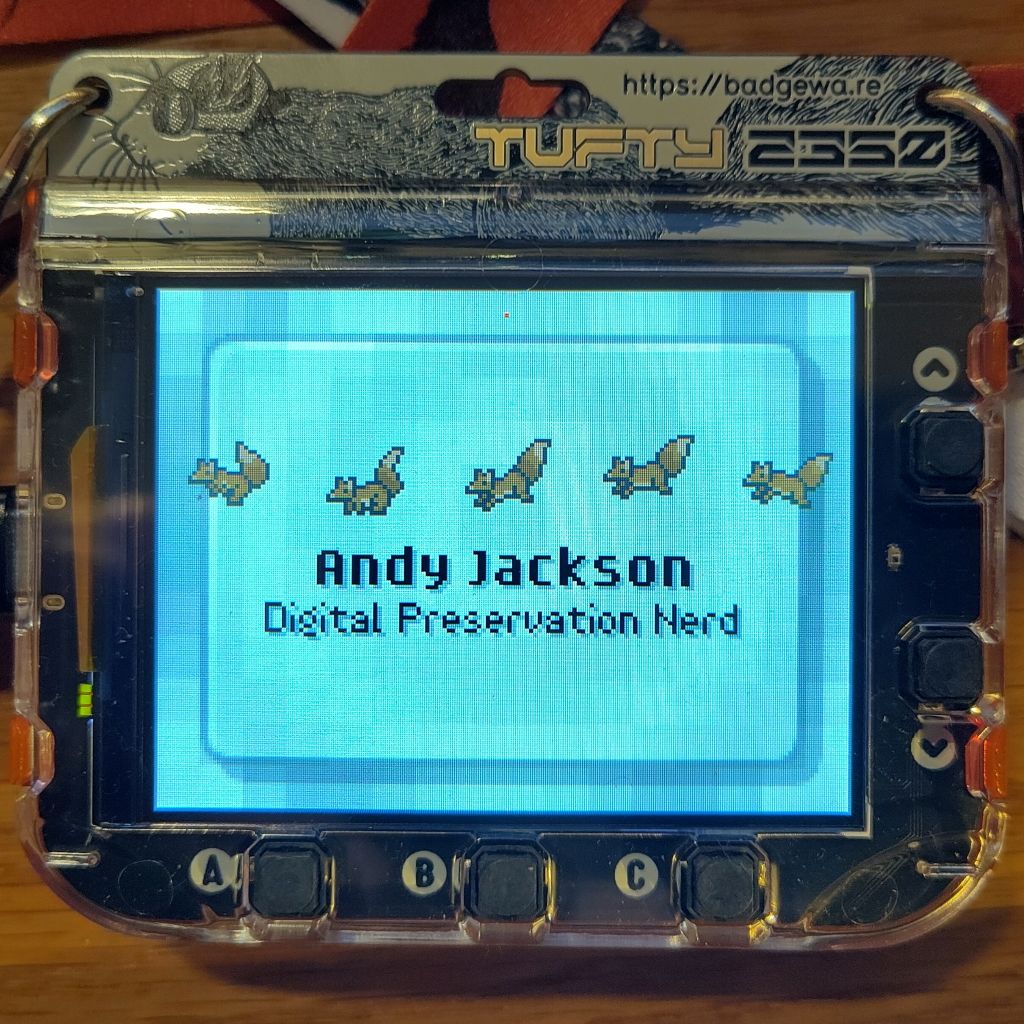
This is what it looks like. Nice packaging, fun sticker and lanyard!
It comes with a few apps, and it’s easy to look at them and edit them because you can make it pretend to be a USB drive. It seems some version of this model was used as a conference freebie for GitHub Universe 2025, and the documentation for that seems to apply to this.
The problem I had was having to edit the files on my laptop and then transfer them over USB and then restart the badge… That’s a slow iteration cycle. That GitHub repo said there was an emulator, but that’s a bit clunky.
But I’ve used Thonny with this kind of thing before, and that’s much easier, so I gave that a try (my son also uses it for schoolwork, so he’d be able to play with it too).
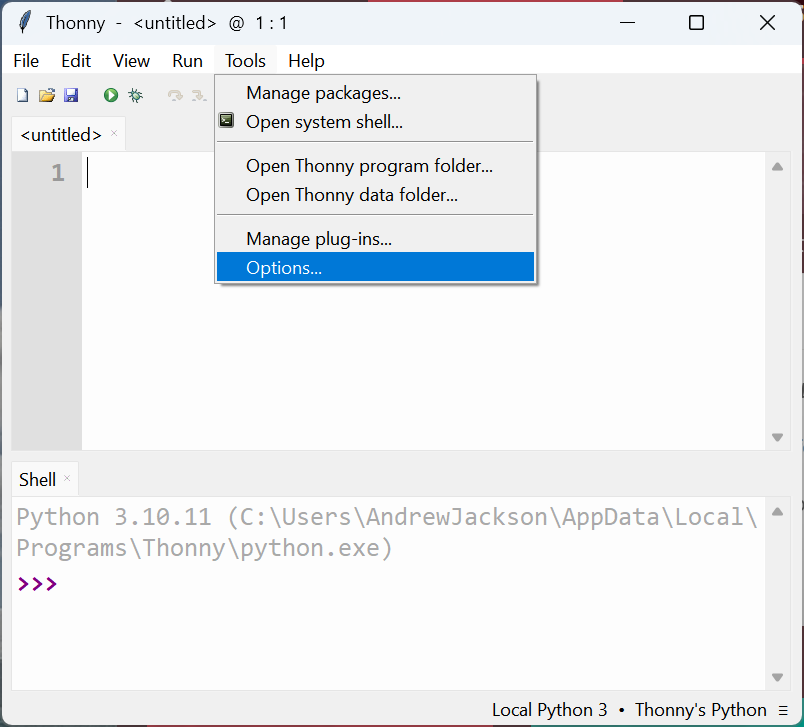
I installed Thonny on Windows 11, started it up, and went to configure it
I then switched the Python Interpreter configuration to look for a device running “MicroPython (RP2040)”
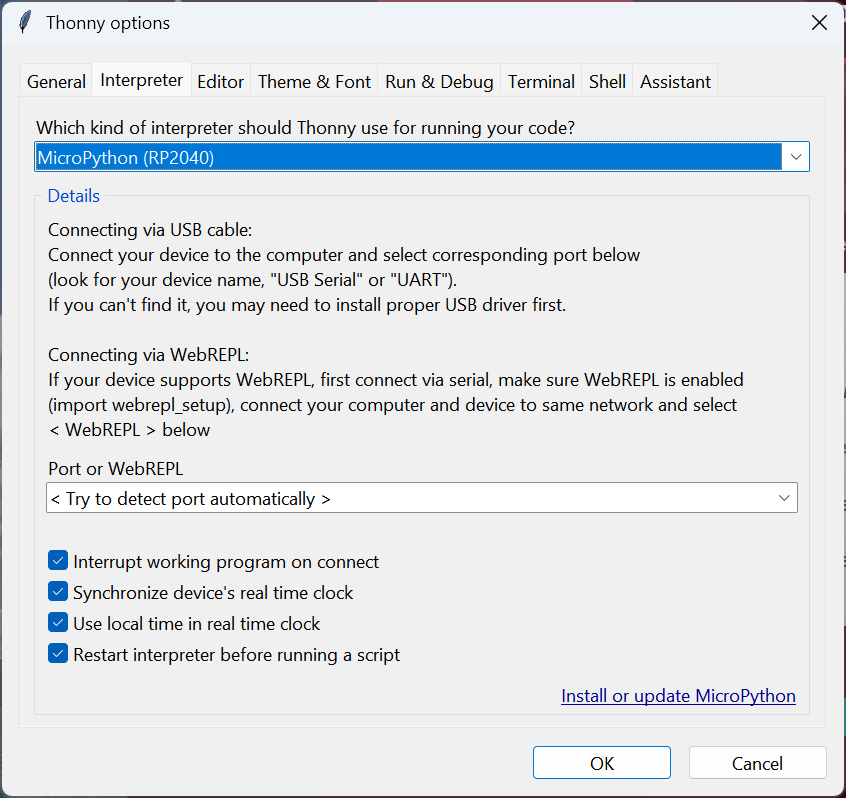
and 💥 it connected!
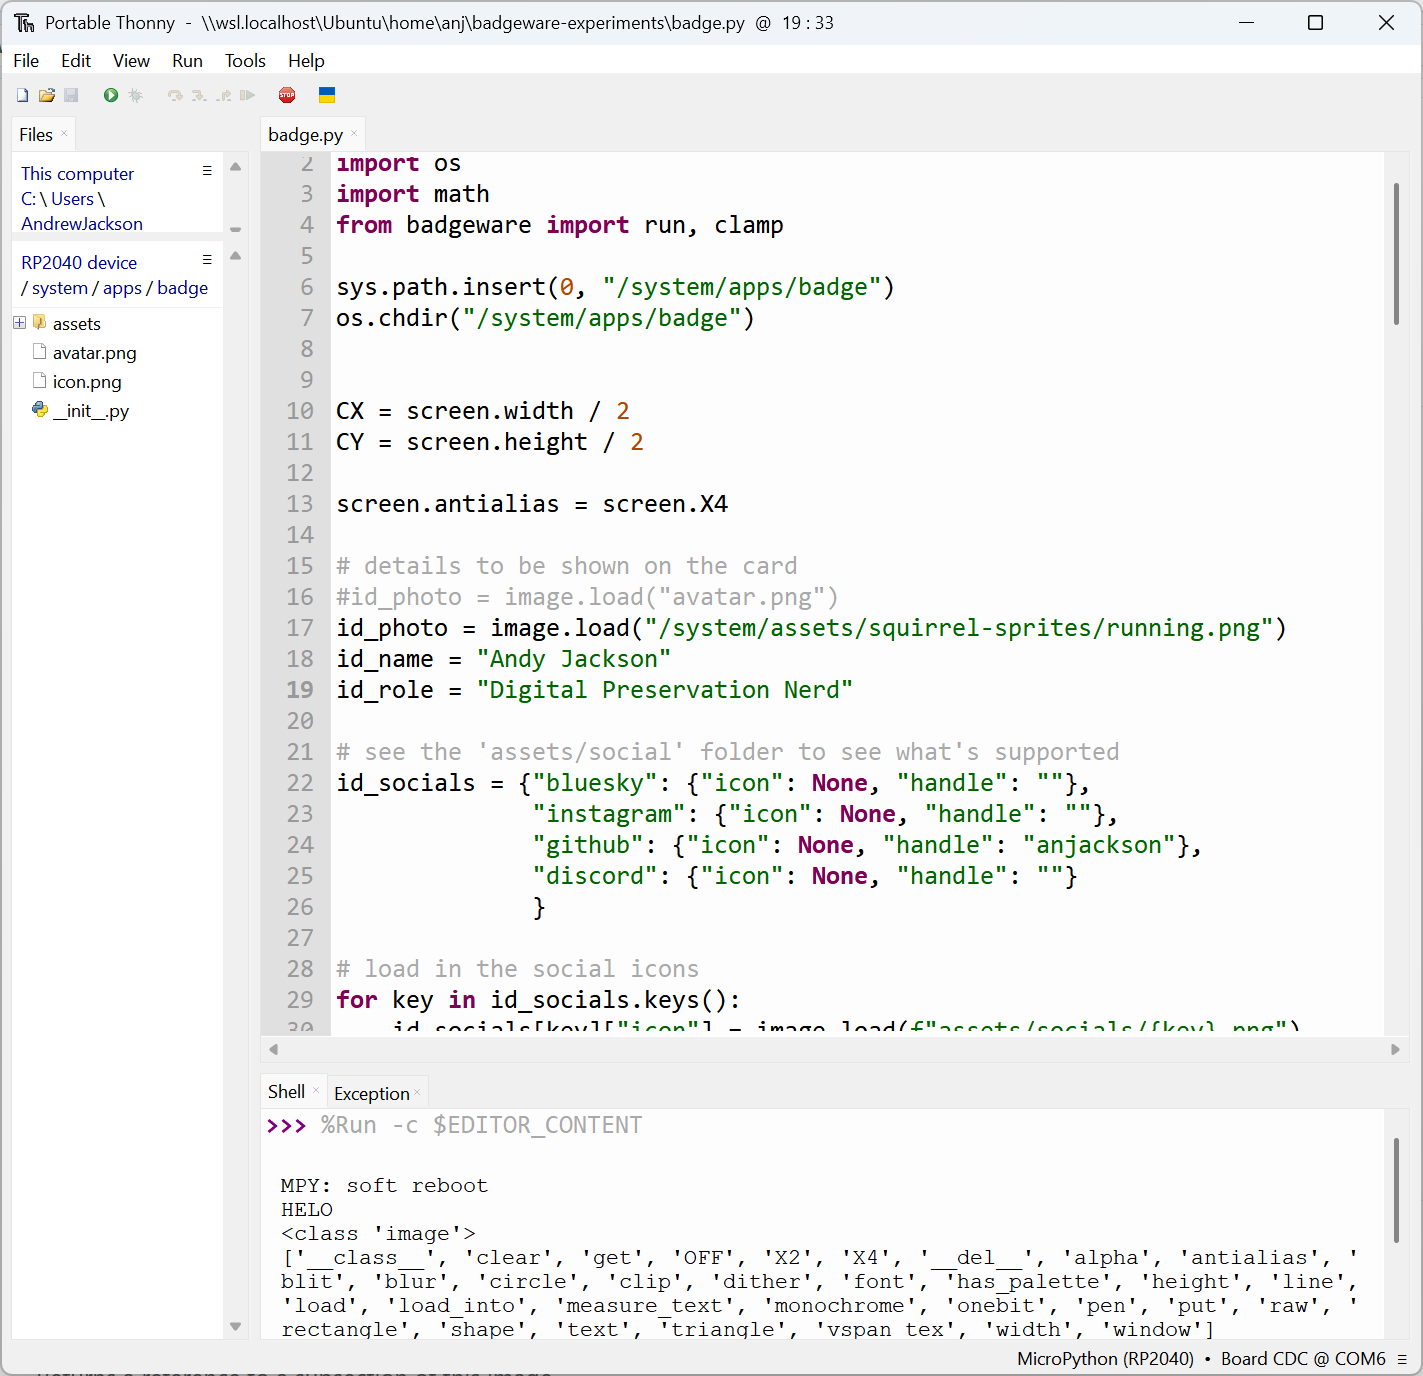
What didn’t work was writing the Python files directly to the device. I’ve had that work on other bits of kit, but that just crashed here. However, if you store the Python file on the host computer, you can still make it run on the Tufty over the USB connection! Here’s an example, where I’m modifying a copy of the supplied ‘mini apps’ where it acts like a conference badge:
This is slightly cumbersome, in that if you want to load additional files (e.g. image files) from your script, you have to transfer them over yourself using USB mode beforehand. But it’s very easy to reset the device and run your code!
I also managed to hack around enough to find out that the Image class used for the screen has secret put(x,y) andget(x,y) methods that let you directly poke pixels, which is the kind of thing I like to be able to do.
You can find out more at https://badgewa.re/
EDIT: Just noting that since I wrote this, I’ve noticed that there’s loads of great documentation available here: https://badgewa.re/docs
Share & Enjoy.